Difference between revisions of "Shinmai Maou no Keiyakusha:Volume 2 Illustrations"
Jump to navigation
Jump to search
m |
PassifloraC (talk | contribs) m |
||
| Line 11: | Line 11: | ||
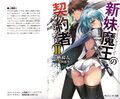
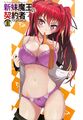
Image:Shinmai_v02_000_color_07.jpg |
Image:Shinmai_v02_000_color_07.jpg |
||
| + | |||
| − | Image:Shinmai_v02_001.jpg|'''Page 001'''<br> |
||
| − | Image:Shinmai_v02_003.jpg|'''Table of Contents''' |
||
| − | Image:Shinmai_v02_025.jpg|'''Page 025'''<br> |
||
| − | Image:Shinmai_v02_049.jpg|'''Page 049'''<br> |
||
| − | Image:Shinmai_v02_079.jpg|'''Page 079'''<br> |
||
| − | Image:Shinmai_v02_107.jpg|'''Page 107'''<br> |
||
| − | Image:Shinmai_v02_127.jpg|'''Page 127'''<br> |
||
| − | Image:Shinmai_v02_177.jpg|'''Page 177'''<br> |
||
| − | Image:Shinmai_v02_229.jpg|'''Page 229'''<br> |
||
| − | Image:Shinmai_v02_269.jpg|'''Page 269'''<br> |
||
| − | Image:Shinmai_v02_300-301.jpg|'''Page 300-301'''<br> |
||
| − | Image:Shinmai_v02_302.jpg|'''Page 302'''<br> |
||
</gallery> |
</gallery> |
||
Latest revision as of 13:48, 11 November 2024
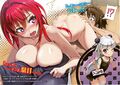
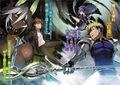
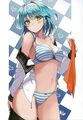
These are the novel illustrations that were included in volume 2
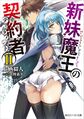
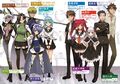
Cover
Front Cover
Back Cover


| Back to Volume 1 Epilogue | Return to Main Page | Forward to Prologue |