OreShura: Volume 3 Illustrations: Difference between revisions
Jump to navigation
Jump to search
No edit summary |
mNo edit summary |
||
| (5 intermediate revisions by 2 users not shown) | |||
| Line 2: | Line 2: | ||
<gallery> | <gallery> | ||
Image: | Image:Oreshura_v03_000g.jpg|'''Cover''' | ||
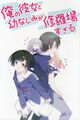
Image:Oreshura v03 000b.jpg | Image:Oreshura v03 000b.jpg | ||
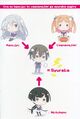
Image:Oreshura v03 000c.jpg|'''――― This Fuyuumi Ai will put an end to this.''' | Image:Oreshura v03 000c.jpg|'''――― This Fuyuumi Ai will put an end to this.''' | ||
| Line 21: | Line 21: | ||
Image:Oreshura v03 151.jpg|'''Page 151''' | Image:Oreshura v03 151.jpg|'''Page 151''' | ||
Image:Oreshura v03 161.jpg|'''Page 161''' | Image:Oreshura v03 161.jpg|'''Page 161''' | ||
Image:Oreshura v03 185.jpg|'''Page 185''' | |||
Image:Oreshura v03 203.jpg|'''Page 203''' | Image:Oreshura v03 203.jpg|'''Page 203''' | ||
Image:Oreshura_v03_206-207.jpg|'''Page 206-207''' | |||
Image:Oreshura v03 214.jpg|'''Page 214''' | Image:Oreshura v03 214.jpg|'''Page 214''' | ||
Image:Oreshura v03 225.jpg|'''Page 225''' | Image:Oreshura v03 225.jpg|'''Page 225''' | ||
| Line 30: | Line 32: | ||
{| border="1" cellpadding="5" cellspacing="0" style="margin: 1em 1em 1em 0; background: #f9f9f9; border: 1px #aaaaaa solid; padding: 0.2em; border-collapse: collapse;" | {| border="1" cellpadding="5" cellspacing="0" style="margin: 1em 1em 1em 0; background: #f9f9f9; border: 1px #aaaaaa solid; padding: 0.2em; border-collapse: collapse;" | ||
|- | |- | ||
| Back to [[OreShura: Volume 2 Illustrations|Volume 2]] | |||
| Return to [[Ore_no_Kanojo_to_Osananajimi_ga_Shuraba_Sugiru|Main Page]] | | Return to [[Ore_no_Kanojo_to_Osananajimi_ga_Shuraba_Sugiru|Main Page]] | ||
| Forward to [[ | | Forward to [[OreShura: Volume 3 Chapter 0|#0]] | ||
|- | |- | ||
|} | |} | ||
</noinclude> | </noinclude> | ||
Latest revision as of 00:13, 5 February 2014
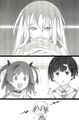
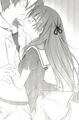
These are the novel illustrations that were included in volume 3.
-
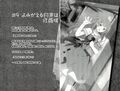
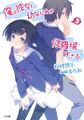 Cover
Cover -
-
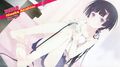
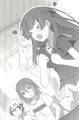
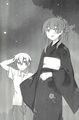
 ――― This Fuyuumi Ai will put an end to this.
 -
-
-
-
 Page 10
 -
 Page 19
 -
 Page 39
 -
 Page 55
 -
 Page 67
 -
 Page 87
 -
 Page 93
 -
 Page 101
 -
 Page 109
 -
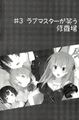
 Page 141
 -
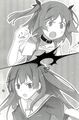
 Page 145
 -
 Page 151
 -
 Page 161
 -
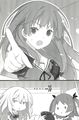
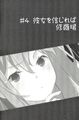
 Page 185
 -
 Page 203
 -
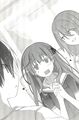
 Page 206-207
 -
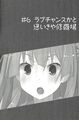
 Page 214
 -
 Page 225
 -
 Page 239


| Back to Volume 2 | Return to Main Page | Forward to #0 |